Part Nine: Siting, installation
Where to put your Wooden Fish Weathervane? This is entirely subjective. Whatever I offer, is once again from my perspective. Your tastes will and should differ depending on your yard, CCRs, neighbors, chance of theft, wind, windows, outdoor seating/furniture, landscaping and lighting. My purpose was to have something kinetic, moves with the wind. Strong breezes assure there will be movement of the fish with small to no fins. I opted for larger tail fins to catch the light breezes and move the fish. There are a lot more light and variable winds than strong winds. If the fish is not moving, how interesting is a static piece of wood on a metal peg? The selection of wood makes for an attractive display no doubt. The clean wooden accents assure that it looks good immobile. BUT, moving is the goal for me.
So, siting in a location that will not be protected from the wind is important. The backyard installations that I have made are fenced. Some with 6 foot wooden fence. Others with iron fencing with 6 inch on center and essentially wide open without interference from wind movement. Be assured that wind in wooden fence enclosures is going to have swirling and variable wind. If you are after a true representation of prevailing winds, the weathervane needs to be well above fence lines and structures like houses. That is generally impractical for all but homes without CCR issues and an awaiting cupola. So, the backyard appears to be the answer.
You can site your fish away from your field of view. But, I question why you would have gone through this process to do that? The question comes to mind: If the fish moves in the wind, and no one sees it, did it really move? So from my perspective, you want to install it where you can see it, where there is wind (variable or stable ) at a safe distance so that it does not impair foot traffic from mowing or other landscaping and it does not swing into some child and cut them. The exposed sheet metal edges are SHARP. Kids and pets can be curious and there should be child proof and pet proof spaces for your yard art. Remember, the art will spin depending on wind movement over the entire diameter of the fish. So, if the length is 48 inches, the pivot point is at 20"-28", you need to assure that plants are out of the way. If not, the fish will run into and stop its rotation on the plant (or structure) until some wind frees it from its static trap.
Table top installation using the 4X4 base can work in the right location. Consider all of the safety issues and perhaps, there is an installation that will work. In the winter, a table/counter installation on a base may work just fine as there are no people around to interact with the fish movement.
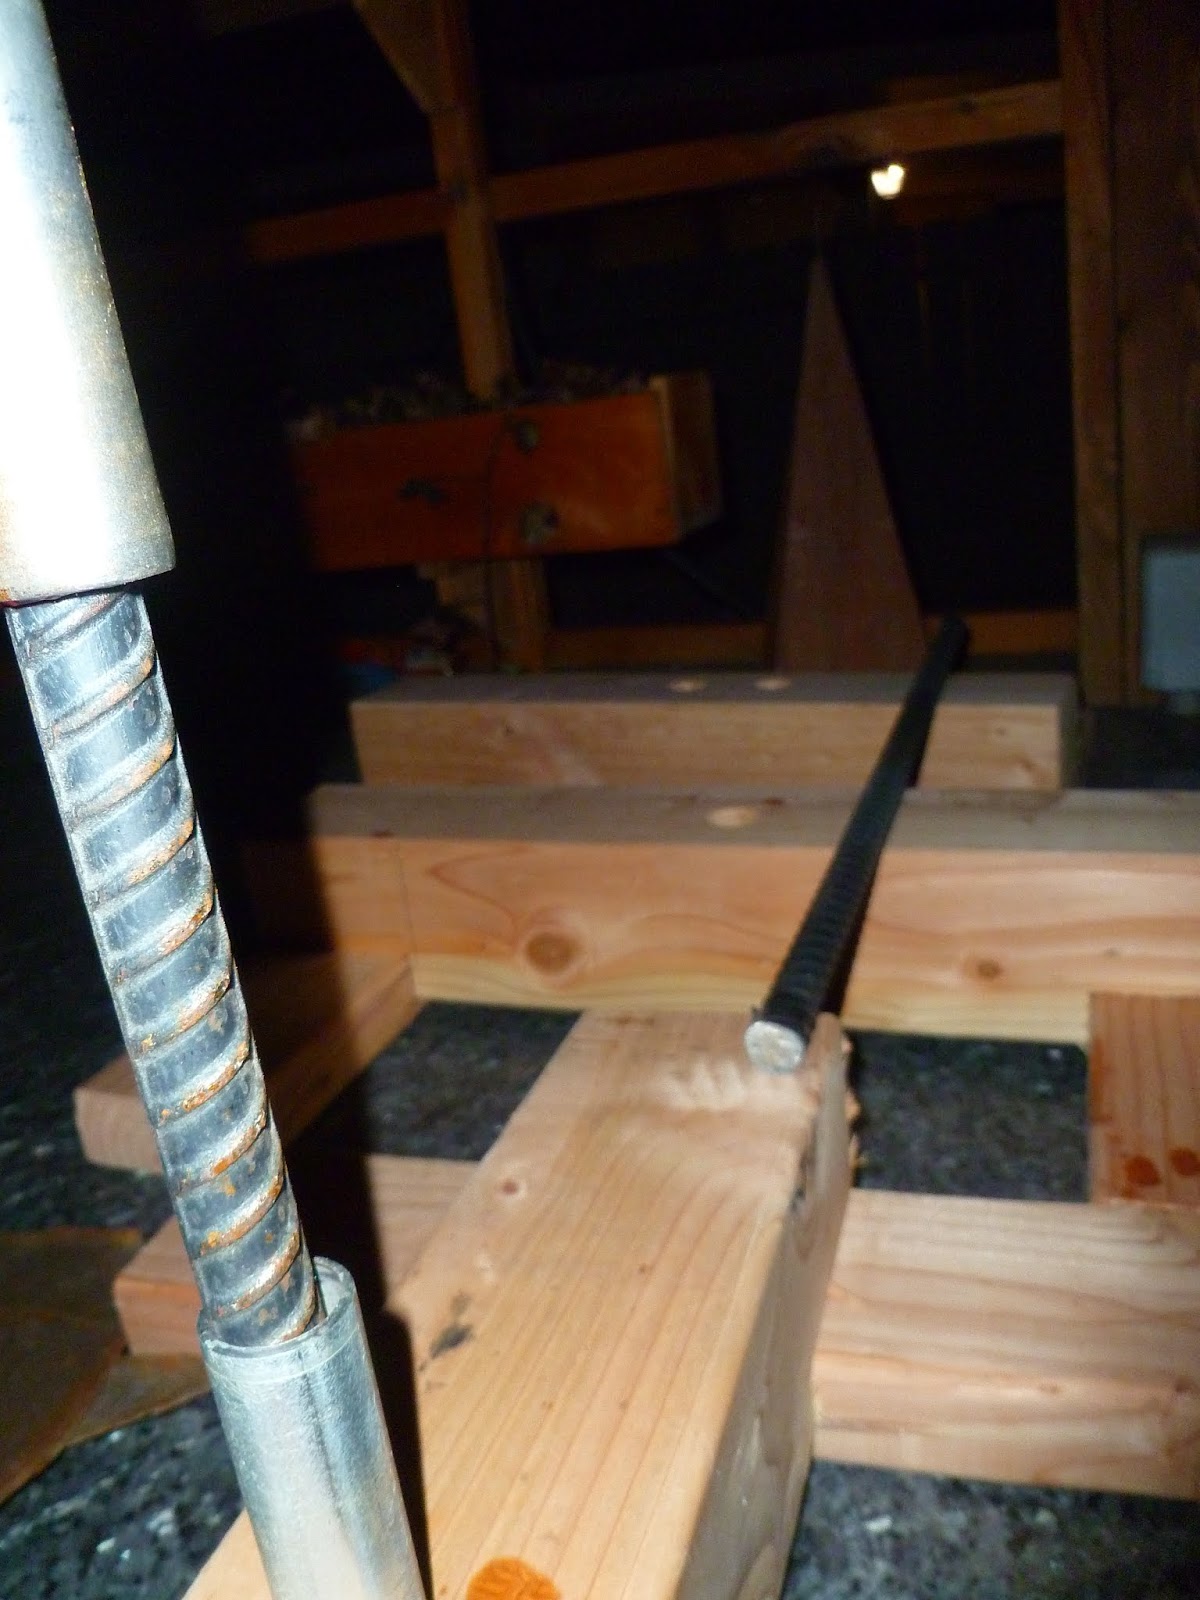

Installing Rebar: Pounding the rebar into the ground requires a plumb and level installation in an area that is free from subterranean improvements. Drip systems, low-voltage lighting systems, PVC irrigation come to mind. If you are worrying about a water supply, domestic gas, electricity sewer or phone you are waaay past the installation of a piece of yard art. 12", 18" and at MOST 24" below surface soil level is all that is needed. Concrete if you must, but that is more than I have ever used. Here is an example of moderate winds, estimated around 20, gusting 35+ and variable. Note the rebar does deflect some in the soft ground. The closest fish are around 40" in length, just the wooden fish. Also, they have the LARGE tail fin that transfers the pressure on the tail into movement. A fence enclosed backyard will have variable winds. No doubt concrete would limit the rebar movement in the ground. It would also make the installation semi-permanent. So, I opt for some deflection in the soil and mobile should the need arise.
I have used different rebar for the installation over time. For the 3/4" EMT, the best installation rebar is 5/8" rebar. I buy it in 10' lengths, cut two four foot lengths and have a remaining two foot length for a table top installation in one of the bases that I have used for epoxy/varnish. I grind down one end to a rough point. That may or may not be needed. And it would eliminate one step, some noise and using a grinder. But, what are grinders for? If you got it, use it.

The rebar is in the ground, your fish is close by and you want to put the fish on the rebar. Now is the time to take the 1/2" bearing, liberally grease it, hold it in place while you slide the fish/EMT over it.


No comments:
Post a Comment