Part Eleven: Cost of materials and tools
So what does it cost to make one of these? I can provide a rough estimate. The cost of power for tools, heat, cost of tools, time hunting material down on the Internet, going to the big box, actual labor -- time in actual construction is too difficult to define. What I can say is that materials are insignificant compared to the cost of tools. EMT comes in 10' lengths for $6.20. You may not need more than 12"? Point is that there will be material left-over if you have uses for the left-over material. Consumables like varnish, epoxy, muriatic acid, sheet metal will have some left-over. Still, it is a cost whether you use it or not. Here are the rough cost of materials. Again, your experience will differ depending on all the variables in your decisions:
- Wood, 4X4 cedar to redwood, $10-$25. Assume $15 for an 8' piece. That will make one, so consider $15. That leaves enough for a 2' base. Or, smaller shapes, 24" will give you two glue-ups of 24". Re purposed wood removes the initial cost outlay, but there is cost in reclaiming the material from its location and the additional cost of more machine time to mill into glue-up shape
- Epoxy, @$7 per project
- Varnish, @$3
- Sand Paper, @$5
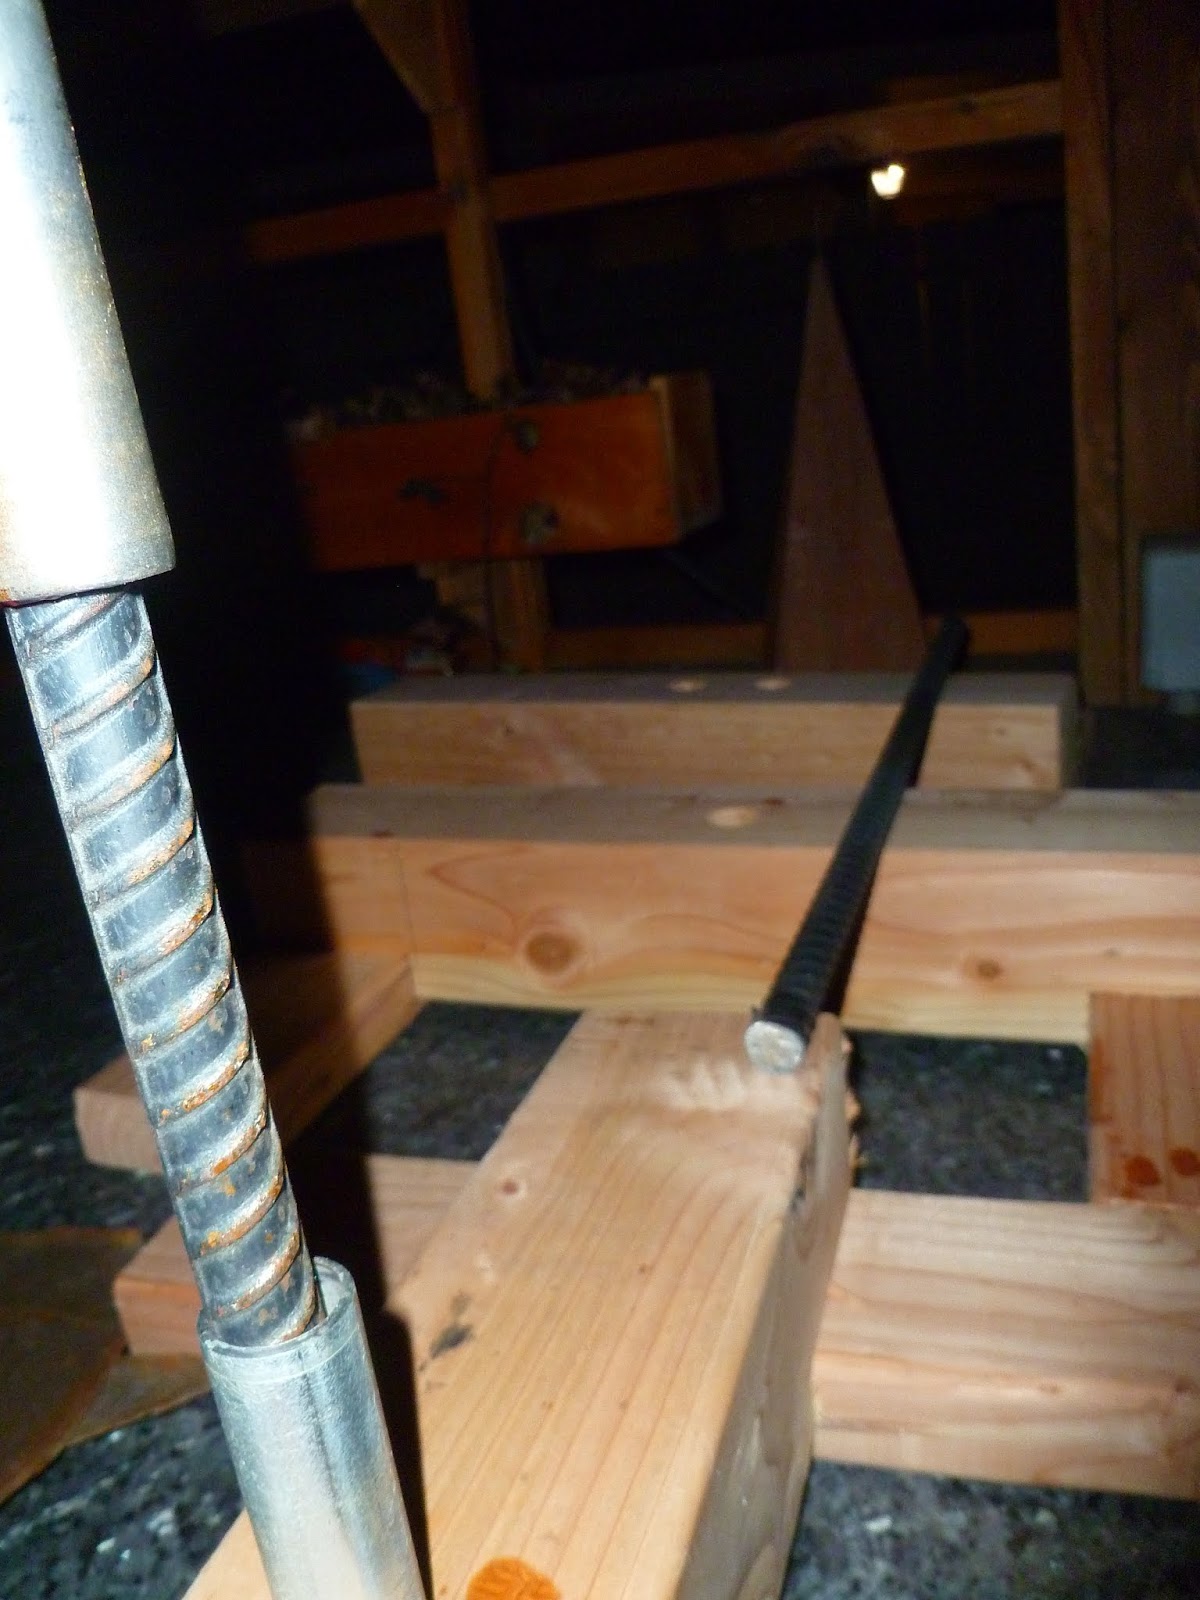
- EMT, @3', @$4
- Rebar, $4
- Bearing, $1
- Nickel to act as washer in the end of the EMT, .05 cents
- Brushes/Rollers for epoxy and varnish @$4
- Corrugated sheet metal @ $8.
- Muriatic Acid, hydrogen peroxide, vinegar and salt. Baking soda for clean up @$15
- Gloves and safety equipment, @$4
- Roughly, $70, JUST in materials. But, that assumes tools, power, saw blades, sanders, saws and all the other pieces of equipment are not part of the price. Wear and tear, fixing and the original cost of equipment is not included in this. Labor is not included and the time outlays are ridiculous -- Probably 10-15 hours for epoxy and varnish alone. There is an economy of scale here. If you are making three, the time is more but not as much as doing three separate projects. Glue-up, layout, clean-up, bandsaw, sanding, drilling, epoxy, varnish, fins and muriatic acid/rust wash follow the rule that it takes about the same amount of time to make three as one.
- And, moving around all the equipment in the garage, turning it into a shop, and returning it to a garage. That is not so much fun.
- If I were to run across one of these at a craft fair and saw $120, I would have said that is high. Now that I have made some, that is barely covering costs.
Here is a list of the power tools used. Hand tools like clamps, hammers, nail sets, tape measures, levels, pencils... NOT included:
- Cutoff saw for the rough length of wood.
- Table saw for ripping or using the dado blade for the wooden base used to epoxy/varnish and a bench top installation
- planer for milling one face of the material for glue up
- Band saw for the rough shape cut out
- Sanding center, 12" disc, 6 inch belt, rough sanding
- Finish sanding, ROS with 60, 80, and 120 grit paper, lots of that
- Standing drill press, forstner bits
- cutting tools for EMT, files, hack saw, Sawzall for cutting rebar
- Aviation tin snips, Gotta have em.
- Power tin snips. Sure make cutting sheet metal easier
- Reciprocating multi-tool with new blade for cutting slots in the fish for fins
- Grinder for sharpening


